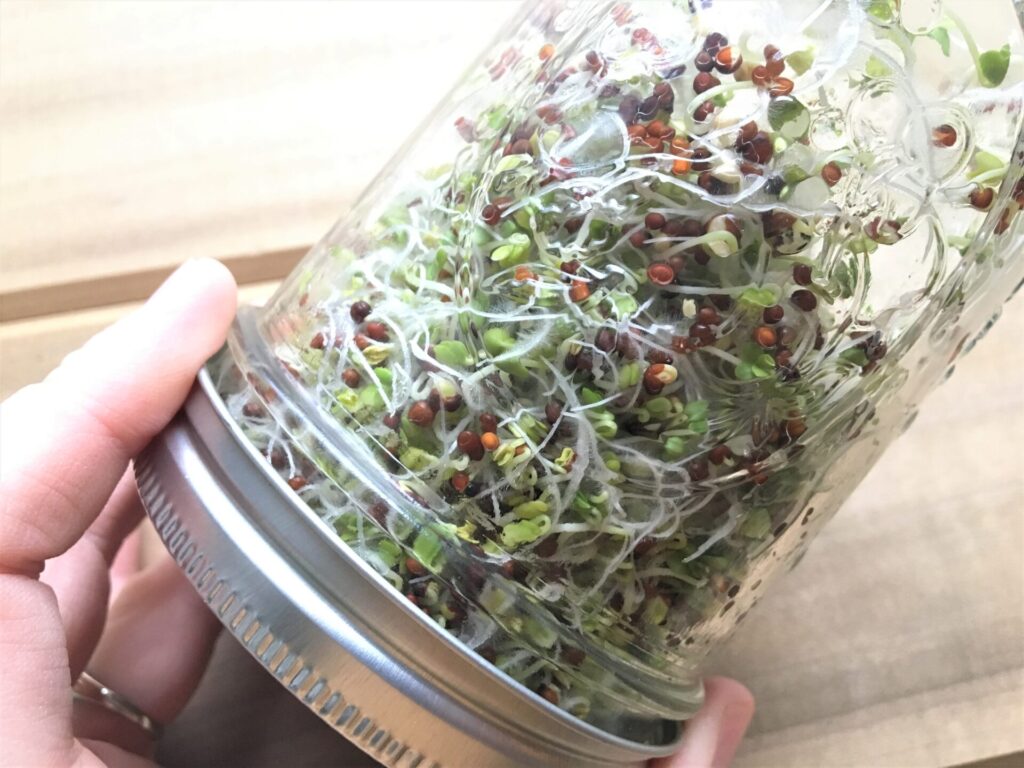
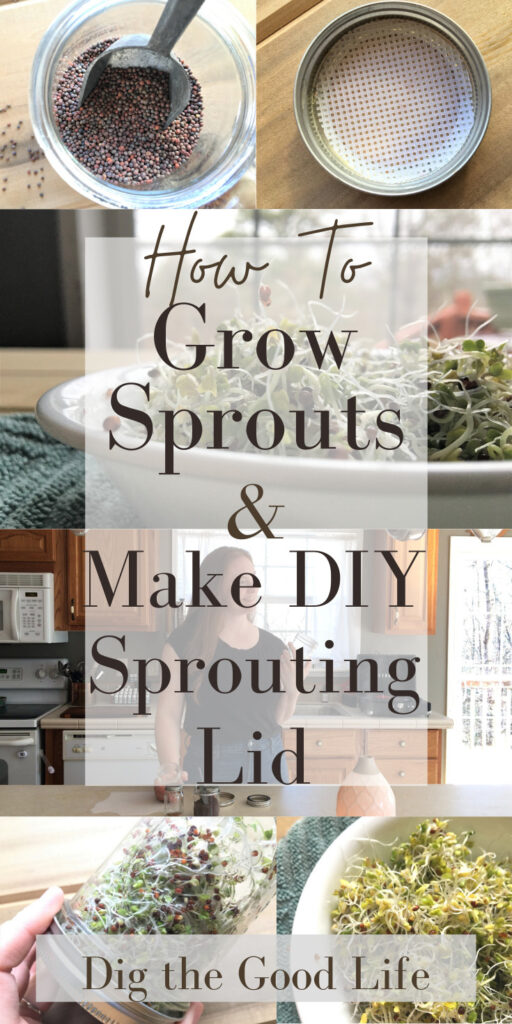
You don’t need any fancy equipment to for this project. Learn how to grow sprouts and make a DIY sprouting lid in today’s post. You can have fresh, nutrition packed sprouts in your kitchen any time of year. A tiny way to grow your own food!
Growing sprouts in a mason jar has become pretty popular.
I used to think you had to have some sort of fancy schmancy sprout growing tray or box. Homegrown sprouts seemed a bit intimidating, to me anyway.
Well, let’s put that to rest because sprouts are one of the easiest foods you can possibly grow yourself.
And not only can you grow them in a mason jar, but I’m going to show you how to make your own sprouting lid for sheer pennies.
{Disclosure: The links in this post may be affiliate links. Meaning, items purchased through these links may earn a small commission for me at no extra cost to you.}
Why Eat Sprouts? Are there Health Benefits?
Sprouted seeds, beans and grains has been practiced for a long time. Spouts are an extremely healthy food to consume.
Sprouting the seeds, germination, makes the nutrients more digestible and easily absorbed by the body.
Many different types of seeds can be sprouted, some of which are alfalfa, broccoli, mung beans, radish, etc. You can even buy a mixture of seeds to sprout all together and get different varieties and flavors at once.
Sprouts are loaded with nutrients such a vitamin c, a, k and folic acid, and amino acids according to many health sources. (Google nutrients in sprouts and be amazed!)
Something that is the most amazing part of sprouts is something they contain called glutathione. Glutathione is a powerful antioxidant for your body. Antioxidants reduce oxidative stress on your cells, in other words, supports healthy immune system, protection from toxins, and discourages cancer growth.
That’s something I want to eat!! Growing your own fresh sprouts is a great way to get vital nutrients. Read on to learn how to grow sprouts and make a DIY sprouting lid!
Pin for Later:
Watch How to Grow Sprouts Video:
Sprouting really only requires a container with good drainage and moisture.
The mason jar method is a simple one. Basically, you add your seeds, soak them in the jar and then drain upside down. The draining part is why you need a special lid.
Using wide mouth mason jars is a good option. It is harder to get the sprouts out of regular mouth mason jars.
Most folks buy a sprouting lid for this. It is a screened lid that will drain your seeds that screws onto a mason jar of your own. Handy, right?
If you don’t want to buy a lid, I’m going to teach you a simple way to make your own!
No matter the type of seed you choose, the technique is the same.
Making Good Sprouting Lids
Some of the seeds that are great for sprouting, such as broccoli, are very small seeds.
The mesh material needed for draining needs to be small enough that your seeds don’t fall through.
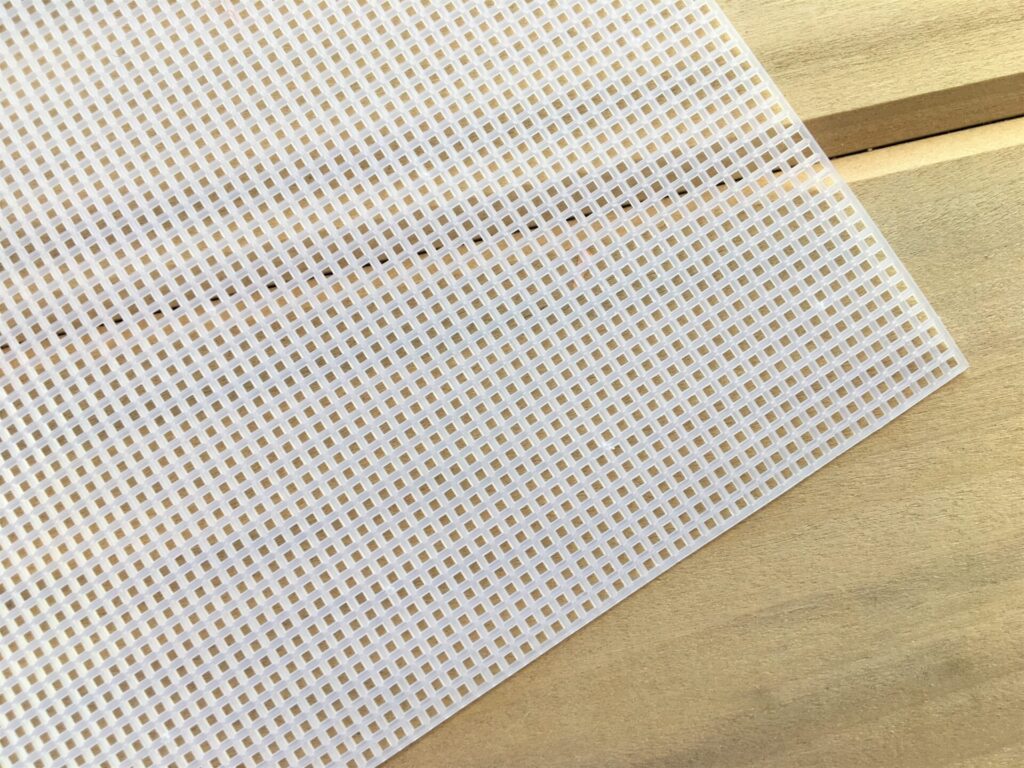
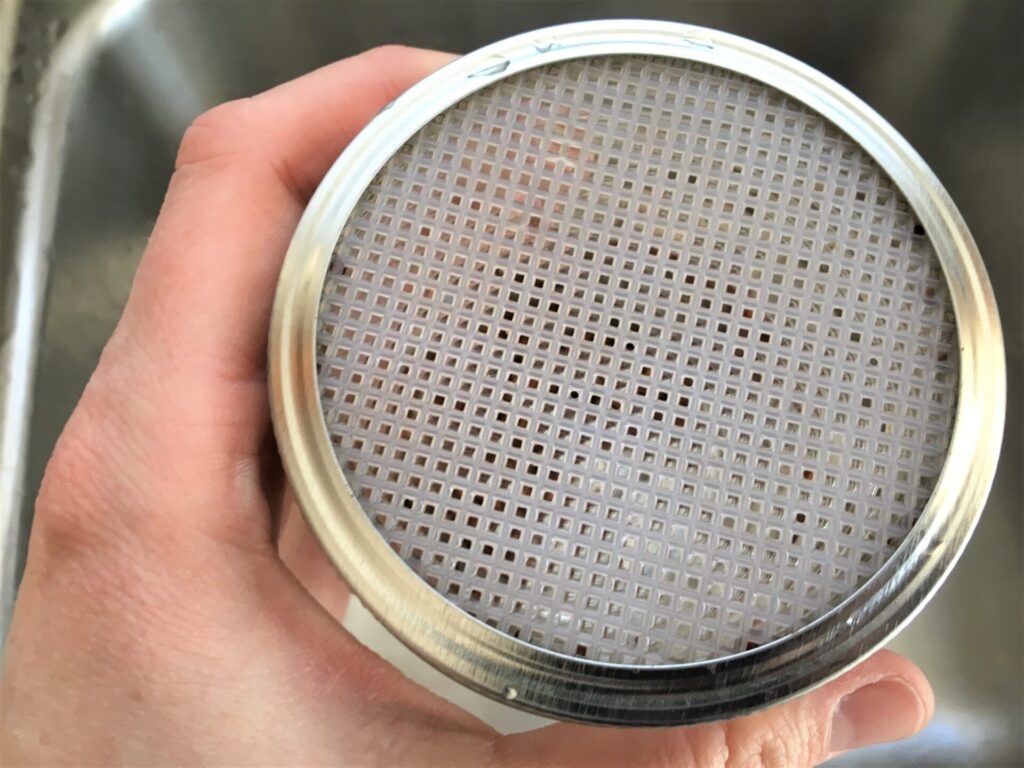
The material that I found to be perfect for this application is one that is easy to come by and cheap. You may already have some in your home. And it is plastic craft mesh.
Craft mesh (or plastic canvas) is usually found in the craft section of stores and is sold by the sheet. It’s also available on Amazon.
How to Grow Sprouts and Make a DIY Sprouting Lid:
Supplies Needed to Make a DIY Sprouting Jar and Lid
- Craft Mesh
- Scissors
- Permanent marker
- Glass mason jar
- Metal jar lid ring
How to make your own DIY sprouting lid:
This is super simple friends!
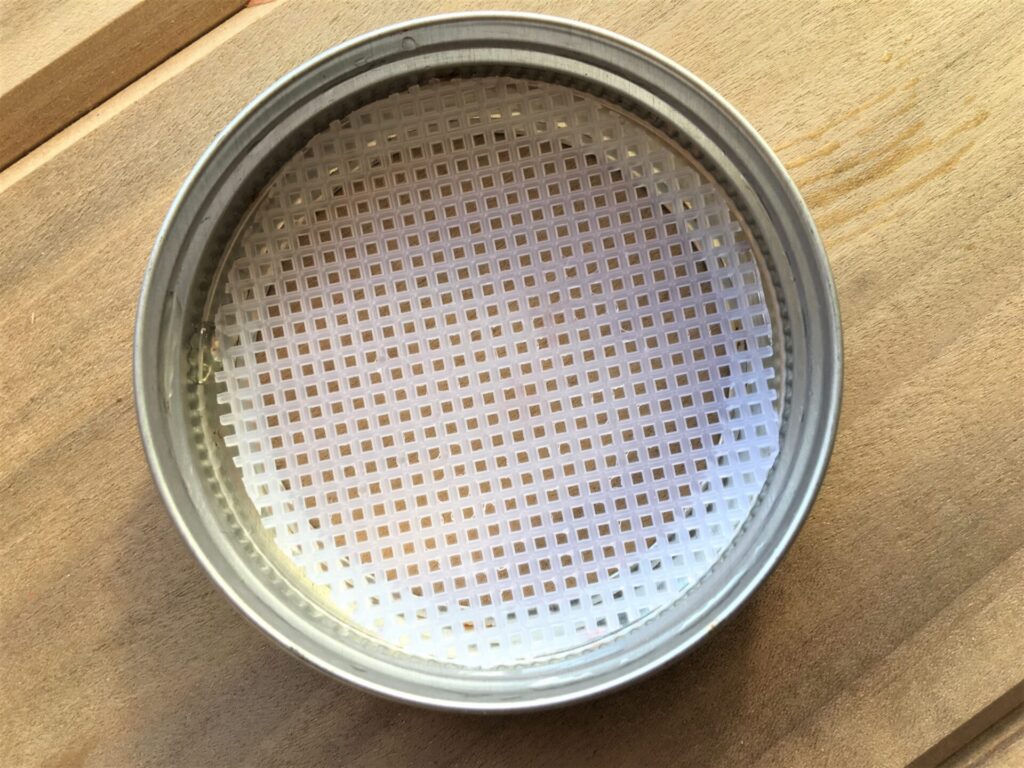
- Place your plastic craft mesh on your work surface. Take your mason jar, place it upside down on the mesh and trace around the moth of the jar with your marker.
- Carefully cut out your circle shape with scissors, cutting inside the marked line. The mesh circle will need to be a tad smaller than the marker line to fit properly.
- Test the size on top of the jar. If it is still a little big, cut around again carefully, making it a tiny bit smaller until it fits flush on the jar mouth.
- Wash the mesh lid with hot water and soap before using.
- Place lid on the jar and add metal mason jar lid ring on top of the mesh, screwing it into place! That’s it!
Printable Recipe Version:
Homegrown Sprouts
Ingredients
- 1 tbsp sprouting seeds
- filtered water
Instructions
-
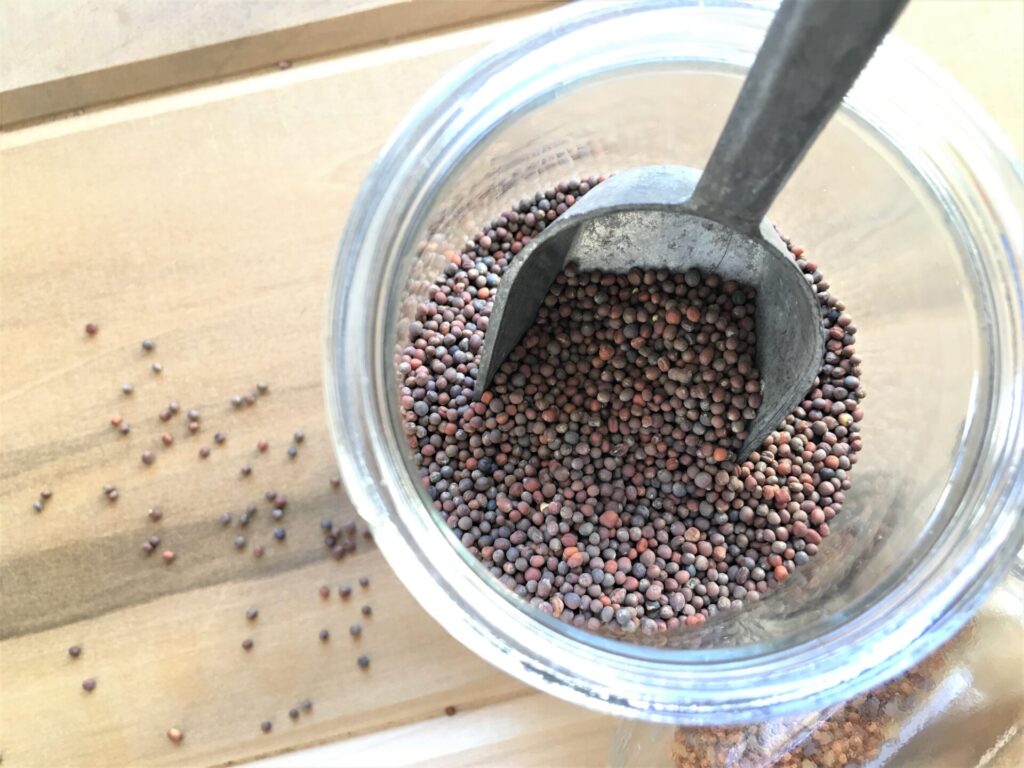
Add a tablespoon of seeds to your mason jar. (Also check your local health food store or grocery store… many carry sprouting seeds and blends.)
-
Rinse seeds in jar with cool water (filtered if chlorinated) and swish around in the jar to clean. You want clean water for growing your sprouts.
-
Place lid on jar and pour water out.
-
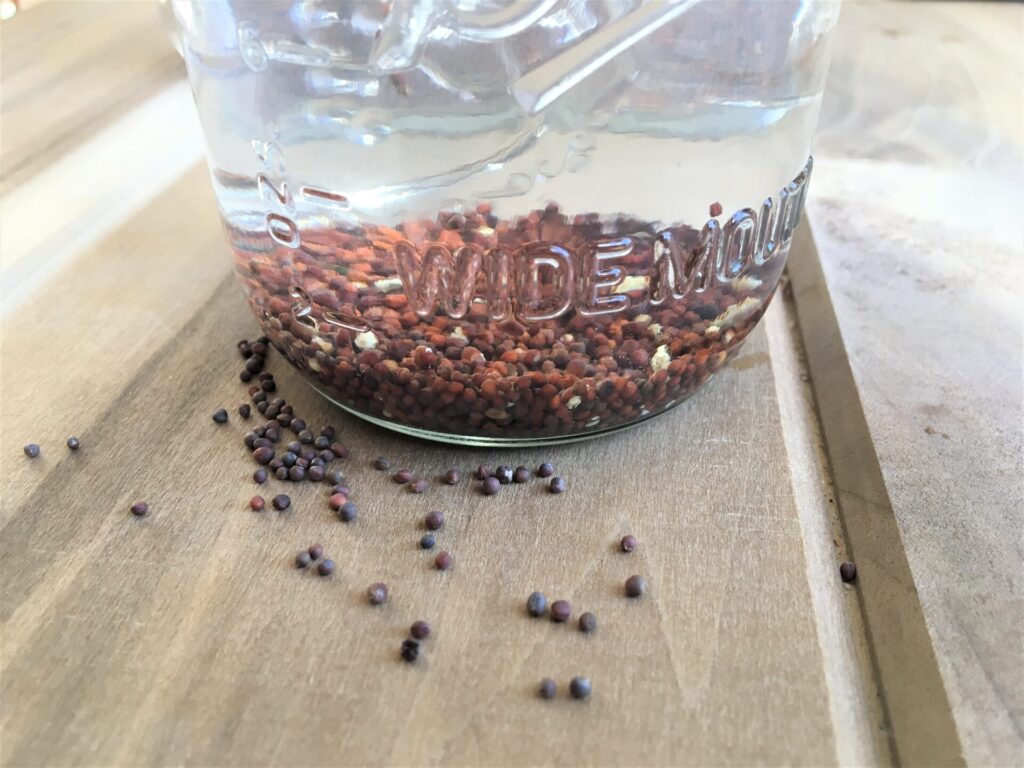
Refill the jar to cover seeds with fresh water, add lid and set on kitchen counter at room temperature to soak.
-
Soak overnight (8+ hours)..
-
The next day, drain and rinse again.
-
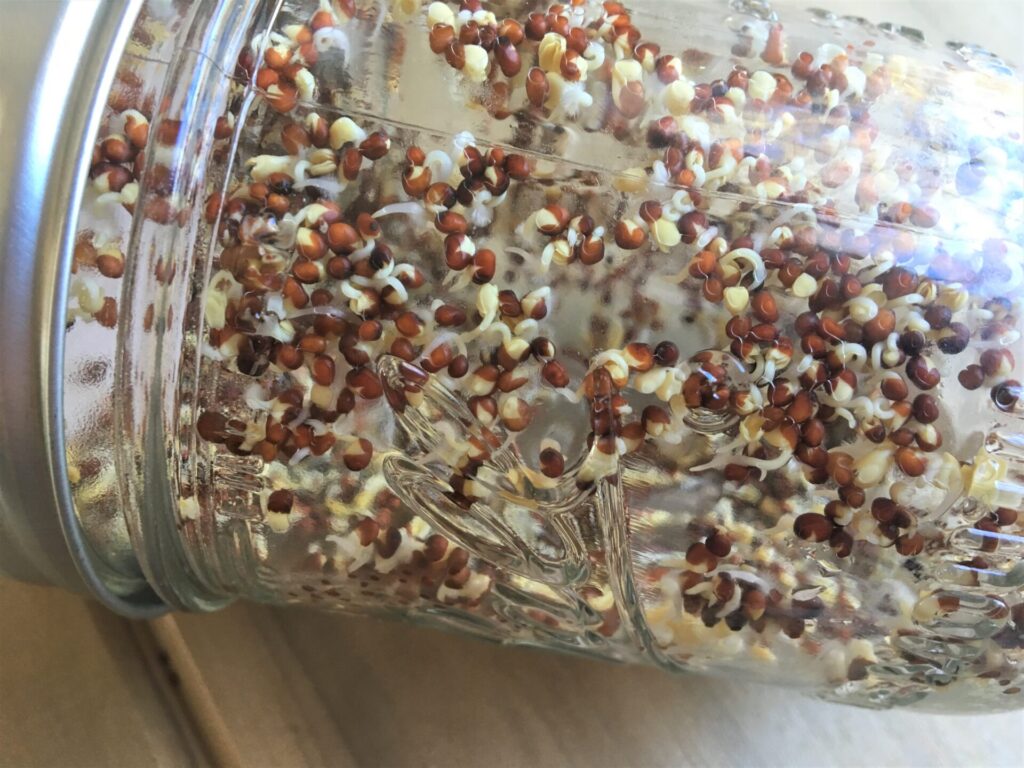
When fully drained, shake seeds around until seeds coat the sides of the jar and then place your jar upside down somewhere, such as the dish draining rack.
-
Keep a towel over the jar as to provide darkness during the germination process.
-
Several times each day (2-3 times) rinse, swirl and drain the seeds.
-
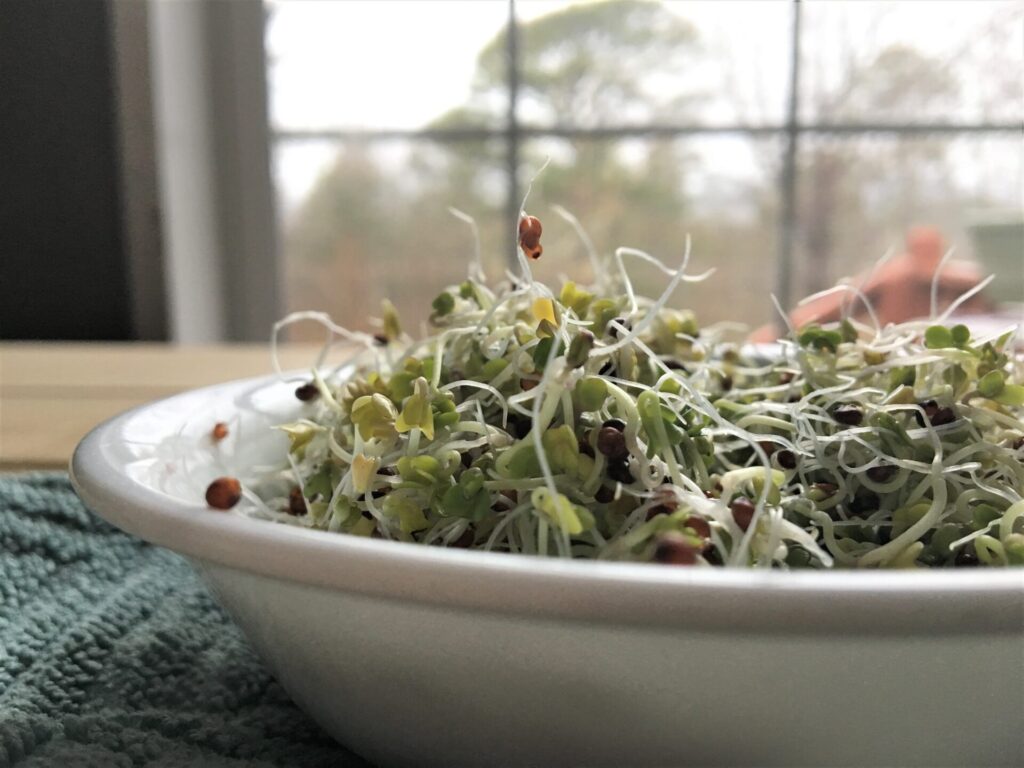
Full sprouting usually takes place in 3-5 days. After spouts are where you want them to be, dump them out in a bowl and rinse them thoroughly.
-
Place on a towel or paper towel to dry. Then place in a zippie bag or container into the fridge, or eat immediately!
-
Sprouts will last a couple days, but the sooner you eat them, the better!
-
***See full recipe post for more info, but keep in mind you need to watch out for any mold growth during and after growing sprouts. Discard if they get slimy, moldy, etc.
How to grow fresh sprouts in a sprout jar:
- Add a Tablespoon of seeds to your mason jar. (Also check your local health food store or grocery store… many carry sprouting seeds and blends.)
- Rinse seeds in jar with cool water (filtered if chlorinated) and swish around in the jar to clean. You want clean water for growing your sprouts.
- Place lid on jar and pour water out.
- Refill the jar to cover seeds with fresh water, add lid and set on kitchen counter at room temperature to soak.
- Soak overnight (8+ hours)..
- The next day, drain and rinse again.
- When fully drained, shake seeds around until seeds coat the sides of the jar and then place your jar upside down somewhere, such as the dish draining rack.
- Keep a towel over the jar as to provide darkness during the germination process.
- Several times each day (2-3 times) rinse, swirl and drain the seeds.
- Full sprouting usually takes place in 3-5 days. After spouts are where you want them to be, dump them out in a bowl and rinse them thoroughly.
- Place on a towel or paper towel to dry. Then place in a zippie bag or container into the fridge, or eat immediately!
- Sprouts will last a couple days, but the sooner you eat them, the better!

Things to watch out for with sprouts
Sprouts sometimes get a bad rap because they are grown in a moist environment occasionally you will hear about sprouts growing bacteria or mold.
Rinsing your seeds/sprouts frequently during the sprouting process is very important to prevent problems like that and maintain good food safety. If you are in a warm humid environment, you may be more prone to mold growth problems.
Make sure your jar and water are very clean to prevent bacteria growth.
If your sprouts ever smell gross or look slimy, moldy or off, throw them in the trash and start over.
FYI, sprouts CAN have a strong smell, cruciferous varieties in particular, such as broccoli, kale etc. You know that strong “toot” smell broccoli can give off when cooked? That’s something you might smell while sprouting and it’s totally normal!
How to Use Your Fresh Sprouts
Sprouts are such a healthy, crunchy snack or topping to add to your favorite sandwiches and salads.
They are delicious on a veggie sandwich, or deli meat sandwich or wrap!
Add them to your salads for a yummy, crunchy kick!
You can even cook sprouts and add them to your stir-fries or veggie dishes.
Use as a garnish on soups, egg dishes and quiches.
Pin for Later:
You May Also Like
Delicious Breakfast Salad ~ Plus Ideas For Starting Your Day With Veggies
Enjoy your sprouting and let me know how you decide to eat them in the comments!
Thanks for stopping by today, see you soon!




Leave a Reply