Here you will find a simple dried flowers how to guide with different ways to dry and preserve fresh flowers.
Preserve your beautiful summer blooms to enjoy all through the winter!
I am doing this post in collaboration with a couple other lovely bloggers. We are calling this collab Savoring the Summer Garden! After you read this post, please go check out these lovely ladies who have shared their own special ways to savor the summer bounty!
~ How to Dry Fresh Herbs from Laura at This House of Dreams.
~ How to Make a Rosehip Oxymel, from Anja at Our Gabled Home.
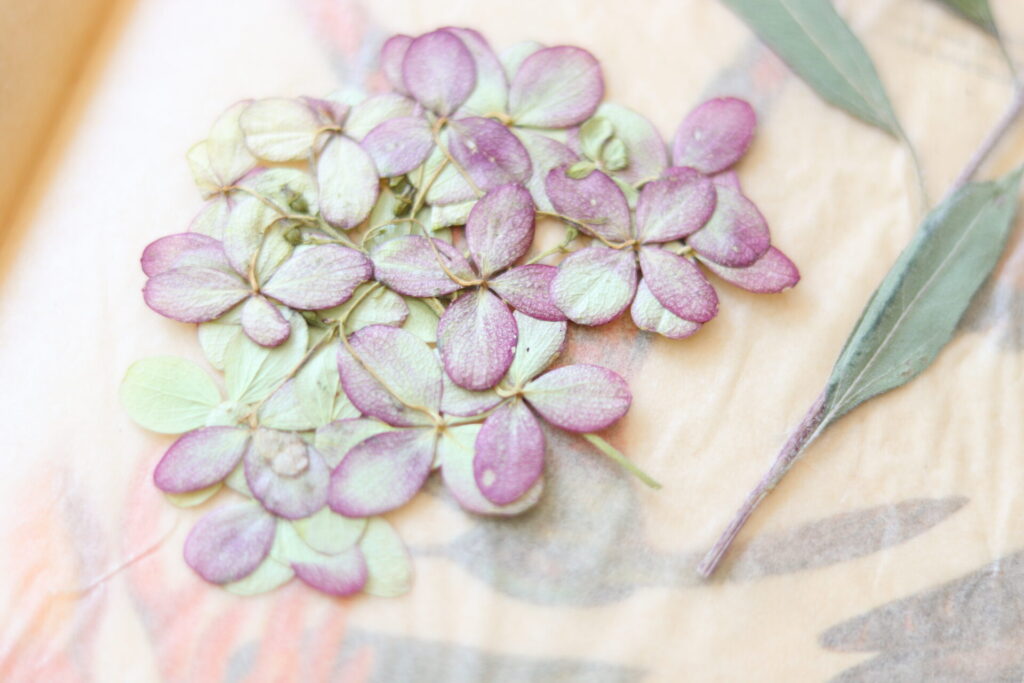
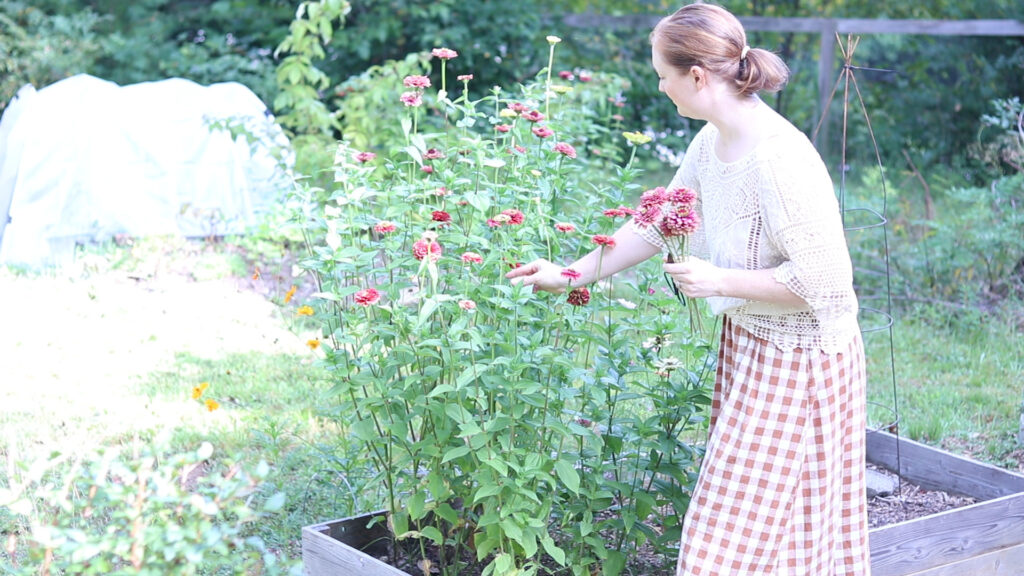
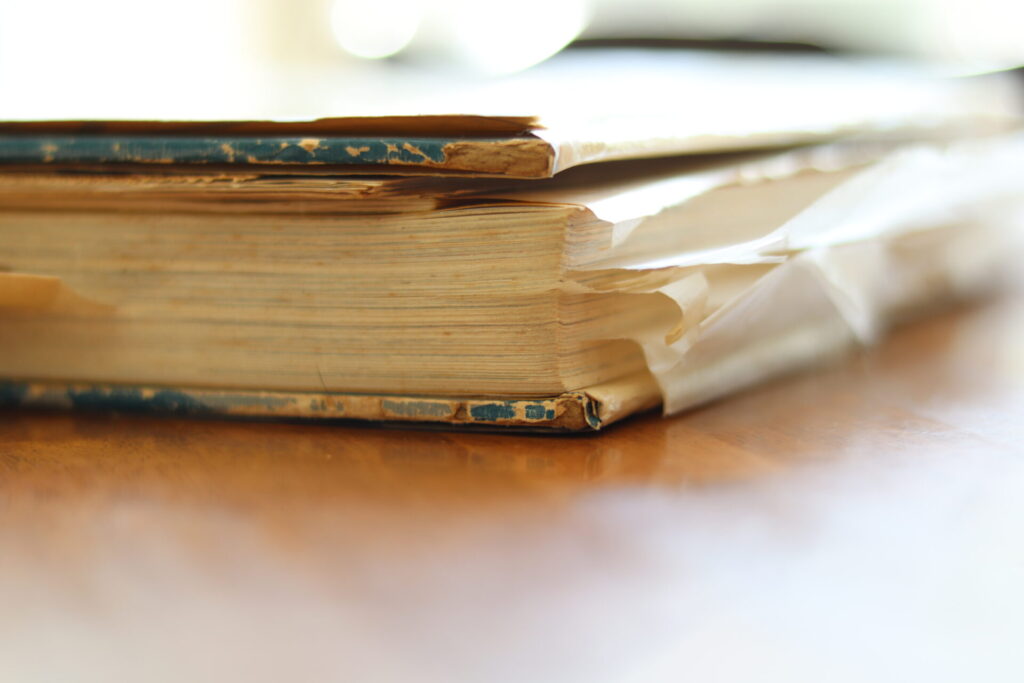
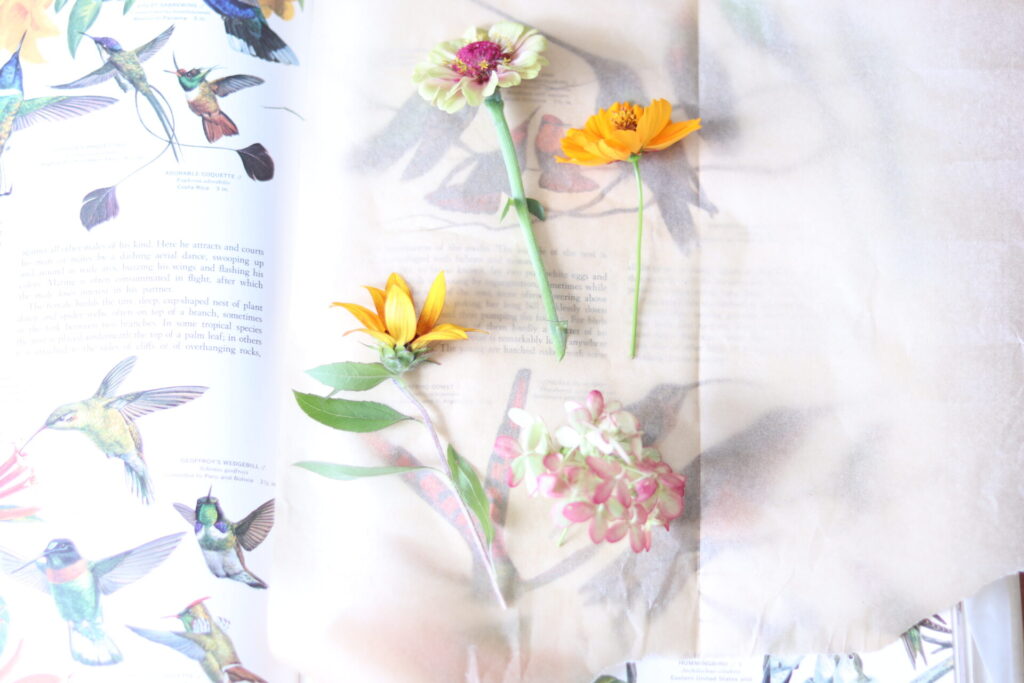
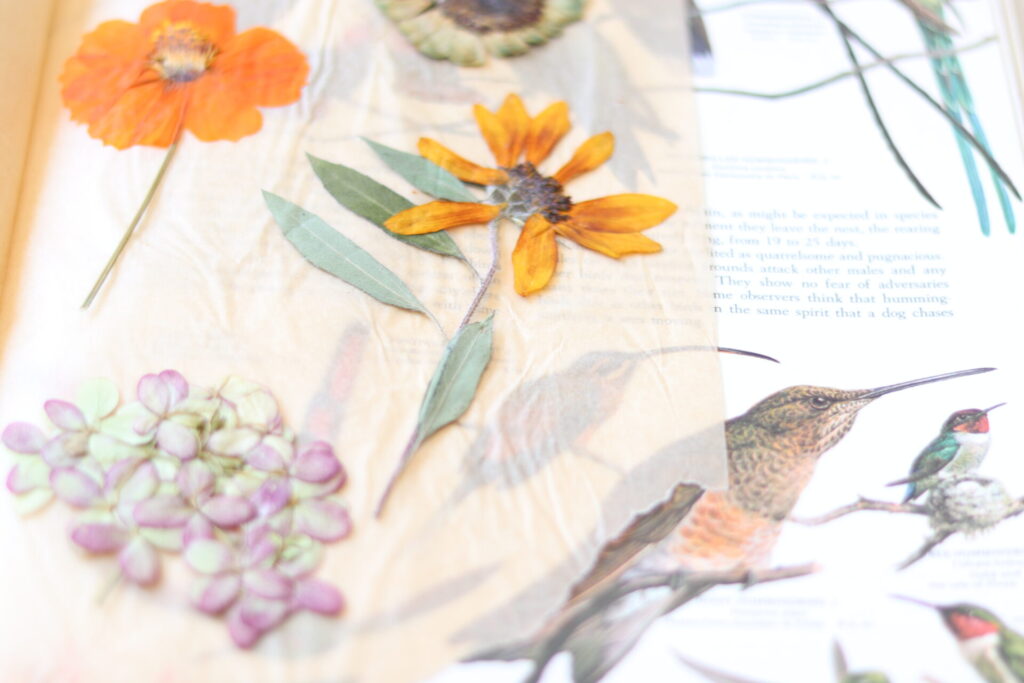
Since I was a young girl, I have tucked buttercups and leaves between the heavy pages of my great grandmother Nonny’s massive, old Birds of the World book.
Several of my larger reference books will let their antiquated botanical specimens slip out to the floor for the unsuspecting page flipper.
But I have not moved much past pressing flowers in the preservation department. This post was exciting for me to pursue, as I am super excited to try these different methods and provide you with the outcomes!
“Consider how the wild flowers grow. They do not labor or spin. Yet I tell you, not even Solomon in all his splendor was dressed like one of these.
Luke 12:27
{We are a participant in the Amazon Services LLC Associates Program, an affiliate advertising program designed to provide a means for us to earn fees by linking to Amazon.com and affiliated sites.}
5 Best Flower Drying Methods:
- Oven Dried
- Silica Gel Preserved
- Pressed
- Ironed
- Air Dried/Hanging
These are the 5 methods that I will be sharing with you in this post. I tried them all and shared my outcomes, so continue reading for the full story!
If you would like to watch this dried flowers how to post in video format, which I suggest so you can really see how each method works, here it is below:
Pin for Later
(Hover over or tap red button in corner to save this to your Pinterest board.)
How to Oven Dry Flowers
For oven drying I went with…
Items needed:
Flowers
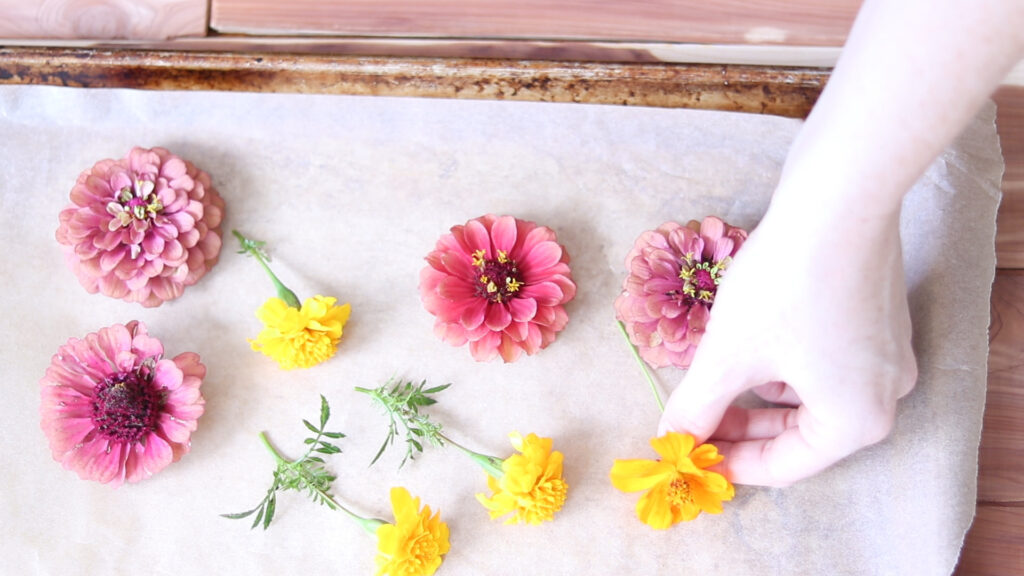
- Lay your blooms out on a baking tray lined with parchment paper. The parchment paper keeps the flowers from sticking to the tray and also makes cleanup easy. I wasn’t worried about using the tray for food later since it was covered.
- Bake the flowers on the lowest setting your oven will do. My oven goes down to 170 degrees so that is what I set it at. Check frequently that they are not burning. Smaller flowers will dry faster than the larger ones.
- Let rest until cool, then handle gently.
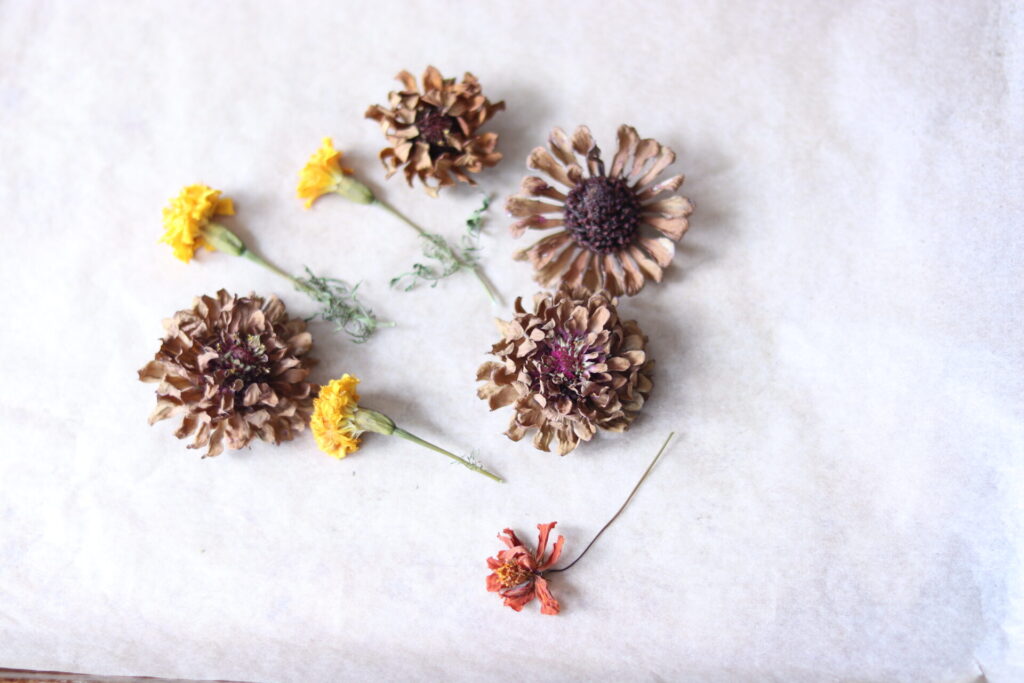
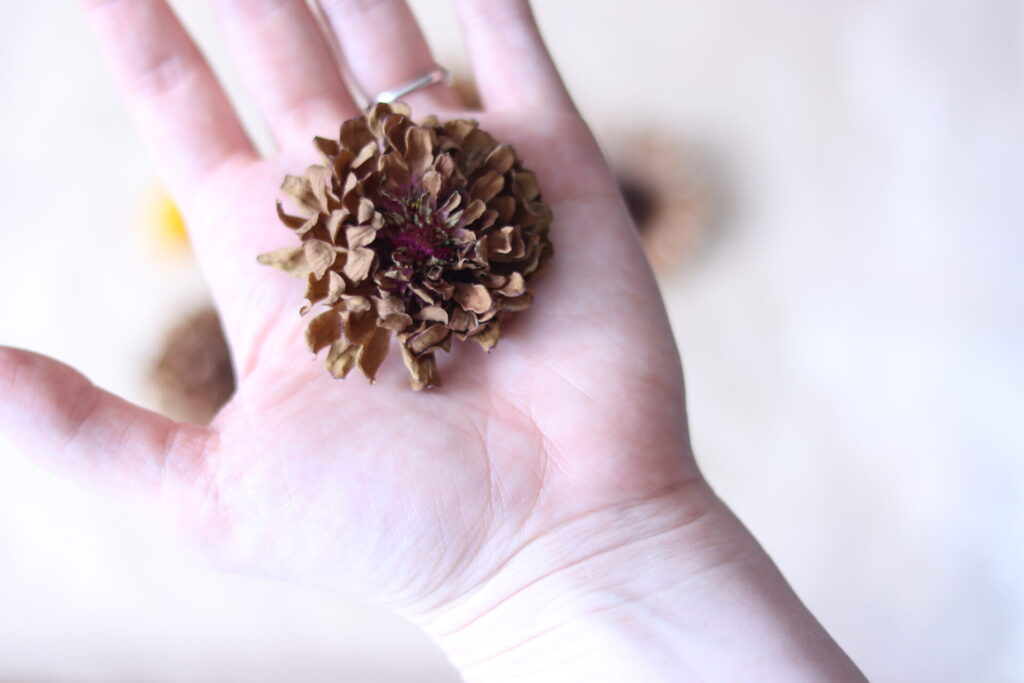
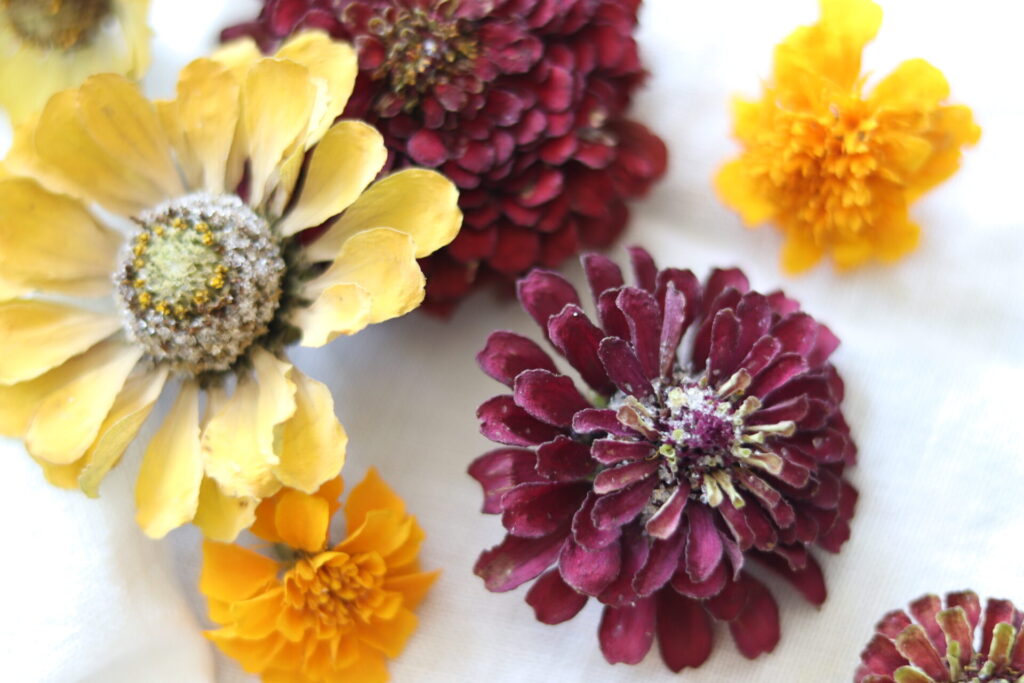
Things to know: Oven drying seems to have different outcomes for different varieties. The zinnias I oven dried came out completely brown. The marigolds and cosmos did better. A great experiment I suppose! I think oven drying does help things hold shape though.
How to Dry Flowers with Silica Gel
This method I was super excited to try. It is supposed to be very effective at preserving the shape and color of flowers almost like the fresh, real deal.*
This method calls for a silica gel product that is similar in texture to sand. It is basically a porous and amorphous substance that absorbs moisture. It is used in little packets in different bottled products like vitamins to control moisture.
What flowers are good to preserve with silica gel?
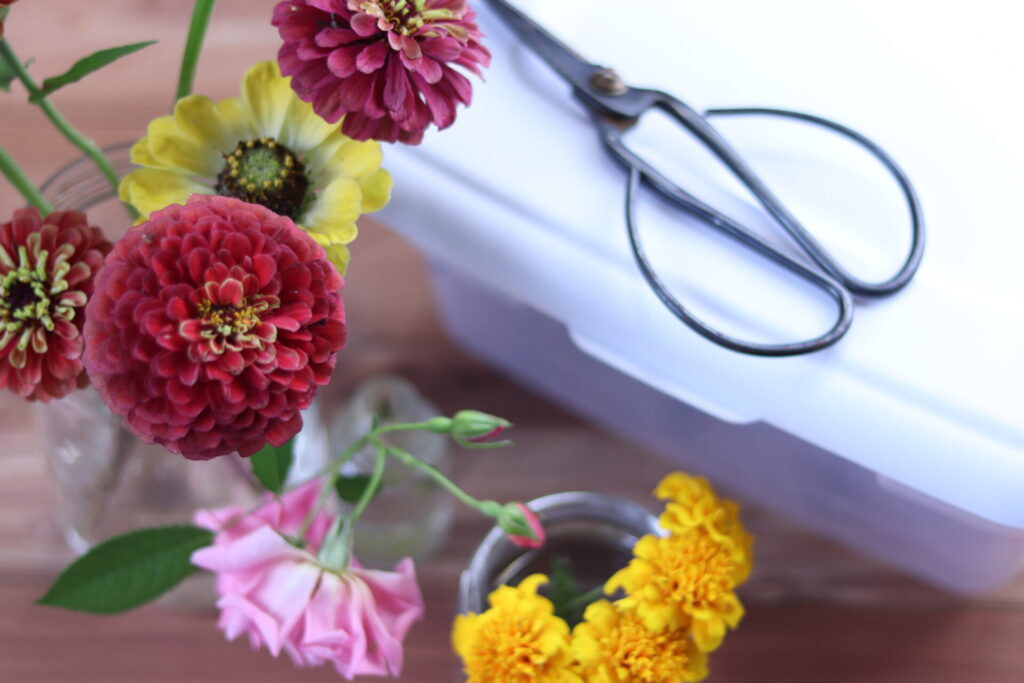
You can try just about any type of flower with this method. Anything that you would love to see all through the winter, as drying flowers in silica gel helps maintain the color and shape!
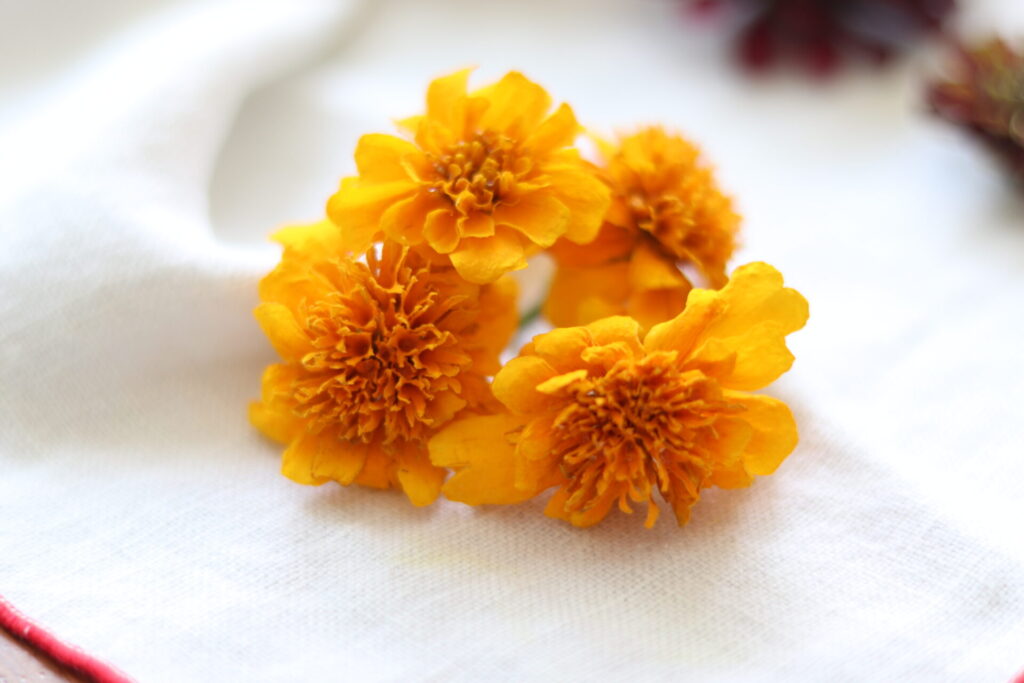
Ideas: Zinnias, small sunflowers, roses, dahlias, daisies, marigold…
Items needed:
Deep container with lid like this
Fine mesh/tulle to fit in container and over the edges (optional but helpful)
Fresh flowers, any type
*It is recommended that you use a mask and gloves when handling silica.
How to dry flowers in silica gel:
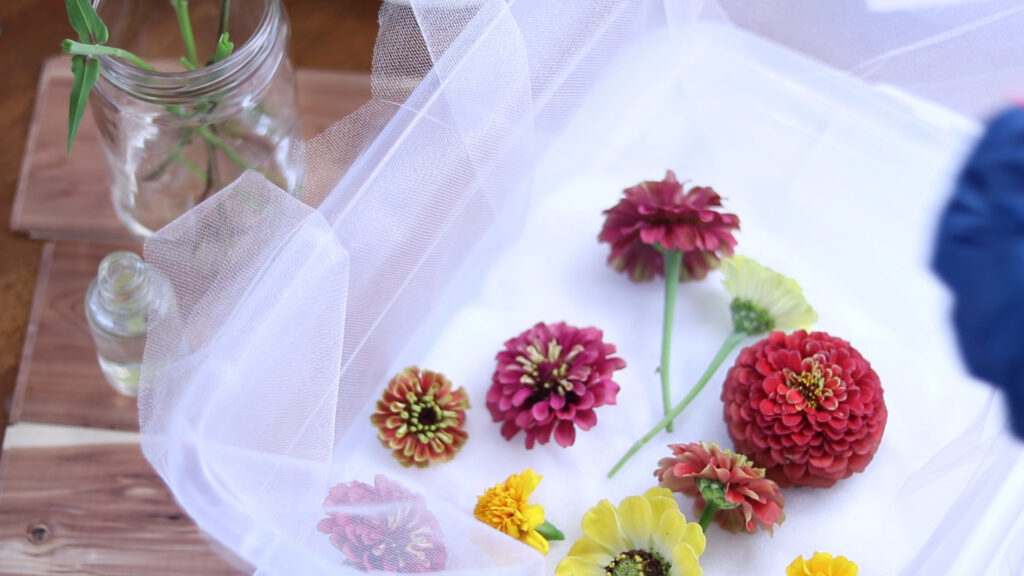
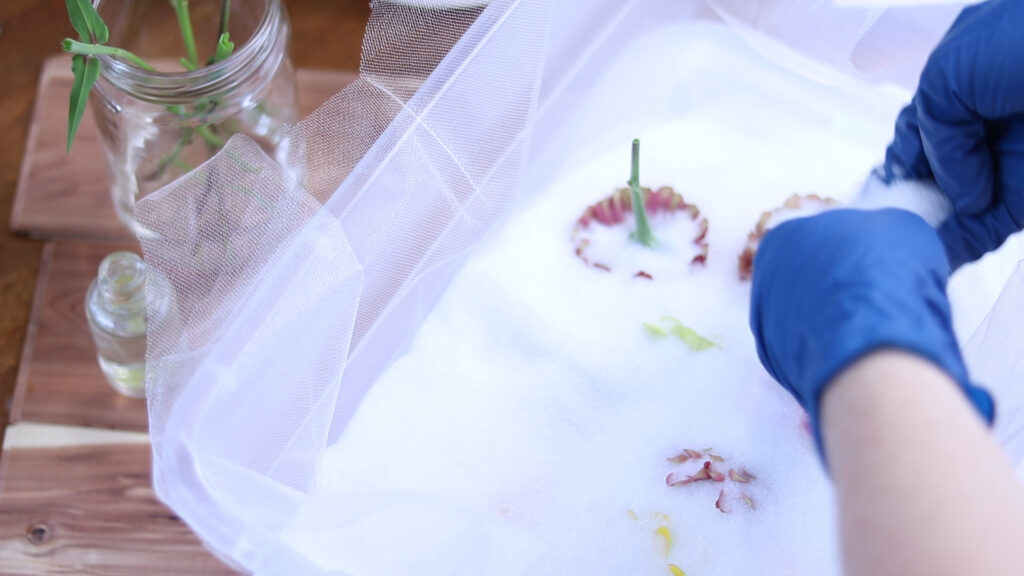
- Line the container with the mesh, with some coming up over the sides, so you can grab it and pull it out later. This acts as a sieve when you are ready to remove the flowers.
- Carefully (while wearing mask and gloves) pour a thin layer of your silica gel into a medium to large sized container. I chose to use a clear plastic bin with lid. Be careful to not spill, what a mess!
- Take your chosen flowers, trim stems and leaves off, and place blooms face up, into the container. You want them face up so that you can pour more silica onto the flower, getting into every crevice.
- Gently pour the silica over the flowers, delicately filling the crevices of each blooms. Cover completely.
- Wait several days, 2-5 probably. If you are doing larger flowers with a lot of moisture in them, wait longer than when doing small, papery flowers.
- Gently pull mesh straight up slowly through the silica gel. The flowers will rise up, sitting on top of the mesh. Gently tap off silica or use a soft brush to get it out of the creases. Gently handle the flowers as they can be prone to dropping petals. Different varieties probably react differently.
Extra precautions:
- When working with silica gel, as any fine powdered substance, wear gloves and a mask.
- Don’t use silica dried flowers in bath/ beauty products or on edible projects.
How to Press Flowers
Back to my old standby, as I mentioned earlier. Pressing flowers, leaves and small plants is as old as, well, dirt! I’m sure folks of ancient times discovered preserving a special specimen by pressing it under something heavy. The Bible is absolutely packed with plant and flower references. God is the master artist/inventor/botanist!
There are two ways you can press flowers... Books or a flower press.
I lucked out and found a really lovely wooden flower press on one of my thrifting adventures.
What flowers are good for pressing?
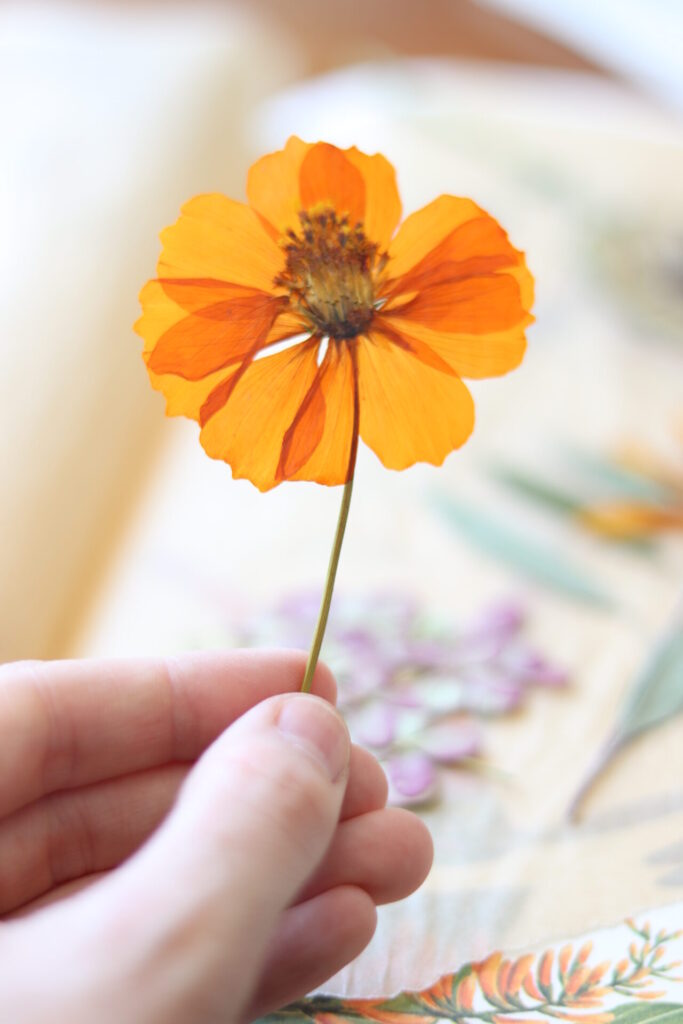
The only criteria I see for pressing would be flowers that don’t have large, spherical centers. The slimmer and flatter the center, the better.
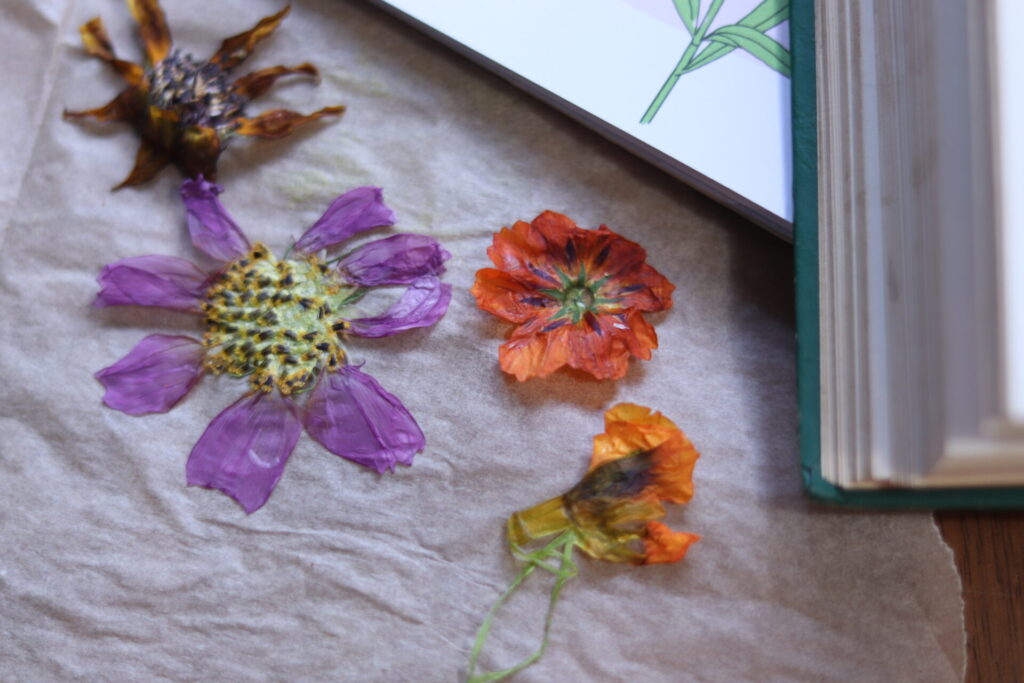
- Whether you are using a flower press or heavy books, you will be placing your flowers in between the “pages” carefully. Place them on some paper or wax paper, so they don’t stain the book pages.
- Arrange the flowers/petals how you want them to stay, because they will stay in that positions hence forth! Correct any folds, etc…
- Close press or book carefully as to not disturb placement.
- Clamp press down tightly, or place book on it’s back, not up and down, with other heavy things on top of it, such as other books or bricks.
- Wait for up to 30 days for this method.

How to Dry and Press Flowers with an Iron
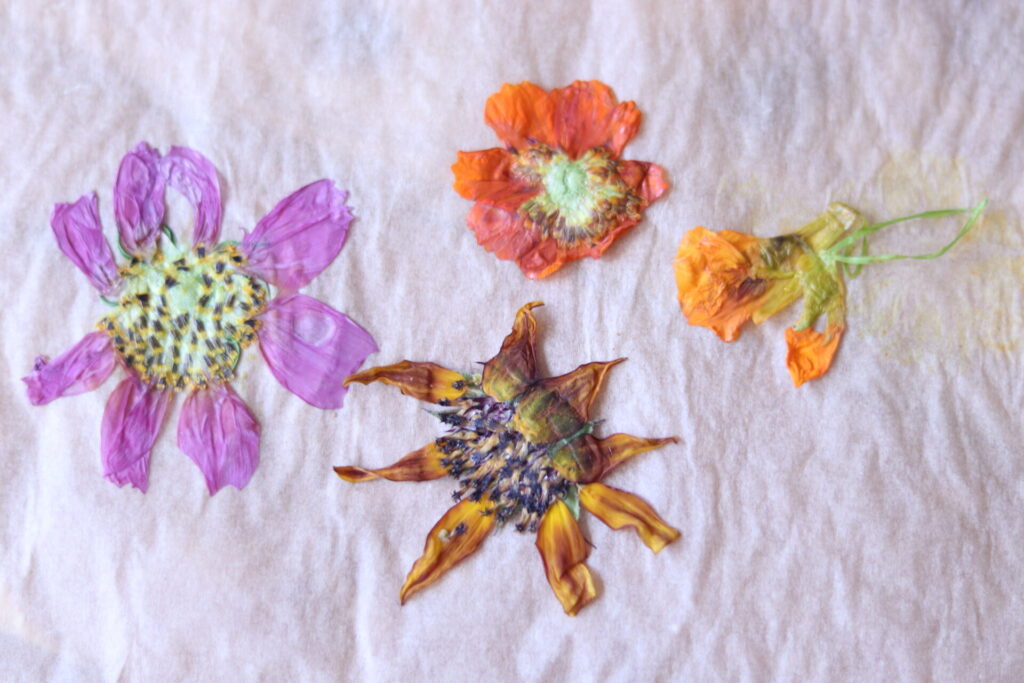
Pressing flowers with an iron is pretty simple. All that is required is a bit of parchment paper and an iron.
I have noticed a trend lately, that most people don’t iron their clothes. Many do not own an iron! I will admit to not usually ironing my clothes unless they are especially wrinkled, but I would not want to go without an iron completely. Crunched collars, flipped up hems and folded pocket flaps must be smoothed into submission!
Smoothing flowers into submission may be more up you alley! If so, read on!
Items Needed:
Clothes iron
Steps to press flowers with an iron:
- Choose blooms that generally flatter in nature, as you would with book pressing. Things like cosmos, pansies, etc…
- Carefully sandwich blooms in between two sides of parchment paper and press down with something heavy, such as a book.
- When iron is hot (turn of steam option or empty water reservoir), remove heavy item and gently place iron on top of flower and press down firmly. Hold iron there for a few seconds (5-10). Don’t slide iron around, you can damage the flower.
- If desired, continue pressing the bloom in small increments of time, until desired flatness in achieved.
How to air Dry Flowers
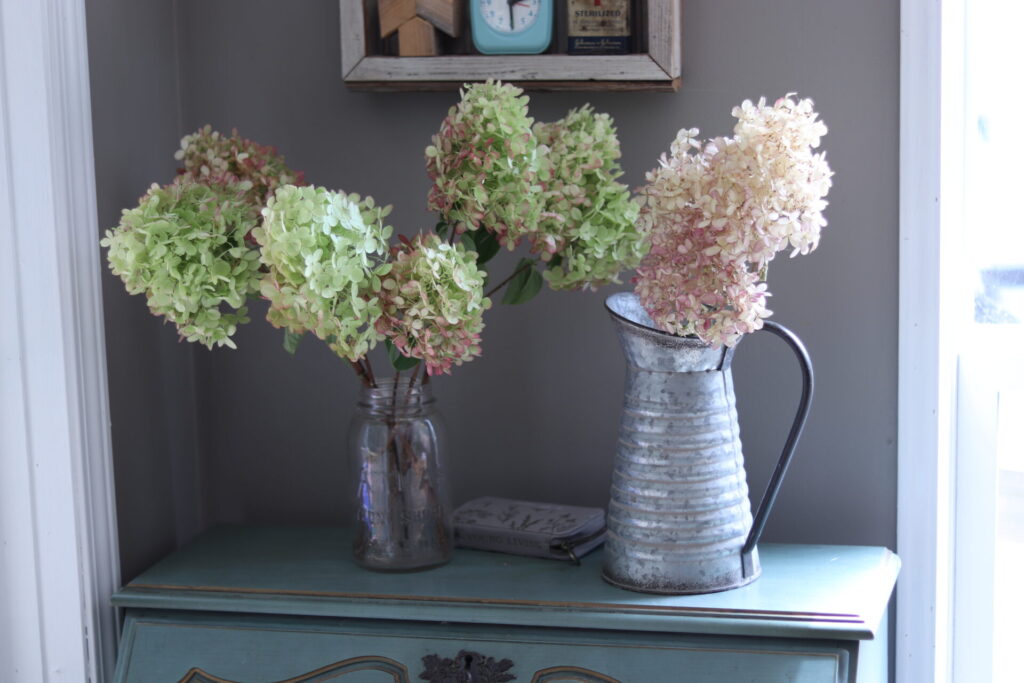
This is probably the most common way people think of preserving summer flowers. I always think of the quintessential bunch of lavender, or hydrangea gathered up in good faith of preserving summers fine, warm days, and hung upside down from a cottage rafter or in a kitchen window. Herbs are often dried this way as well!
2 Ways to Make Air Dried Flowers:
You can air dry flowers hanging in a bunch or place them in an empty vase.
What types of flowers dry the best?
Certain types of flowers seem to do better with simple air drying. Delicate, high moisture content flowers may shrivel, not retaining their shape. Look for a sturdy stemmed flower with structural integrity to air dry. Hydrangea, zinnia, roses, asters, daisies, lavender, straw flower, statice, yarrow, on and on. Experiment yourself and see what works for you!
How to Make Dried Flowers by Hanging
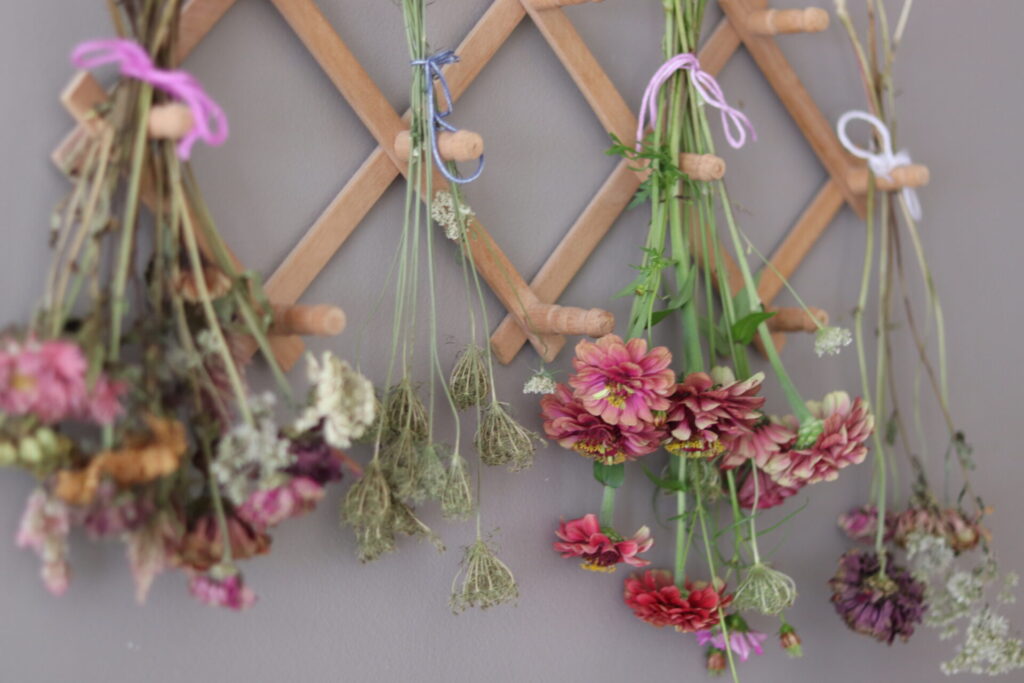
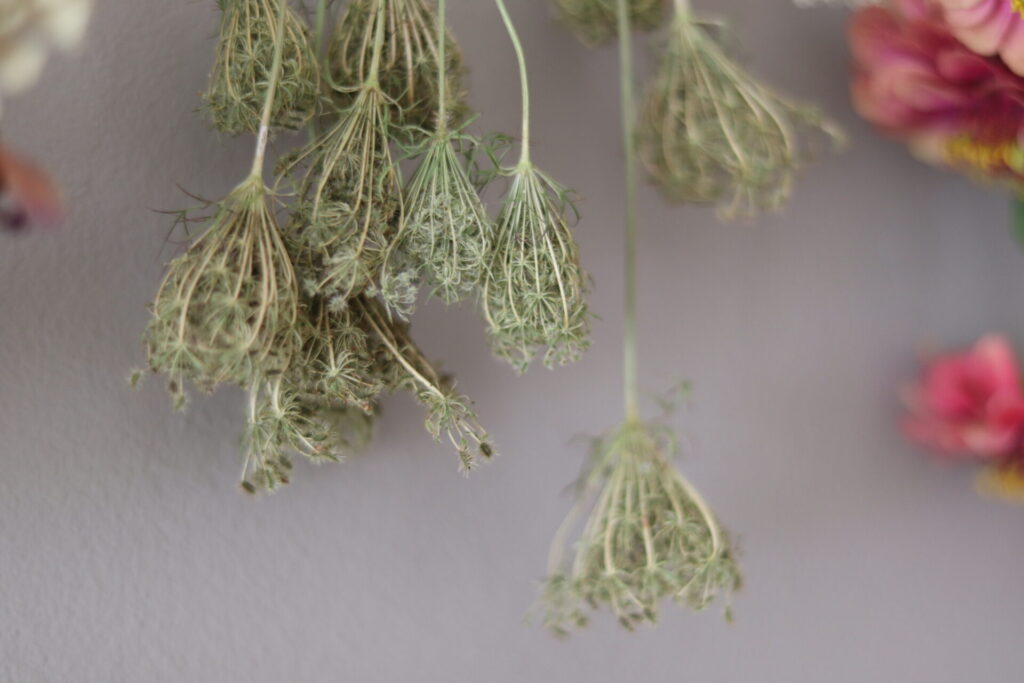
Gather a small bunch together, keeping their stems as long as possible. Tie them snugly with a piece of string or yarn.
Hang them upside down over a peg, nail, or by the end of the string in a low light, dry area.
Hanging them directly in the sun will fade the colors faster.
Check them every few days carefully to see level of dryness. Larger, more compact flowers will take longer.
Handle with care, most will be very fragile.
How To air dry flowers in a vase…
Basically do the above, only no need to tie them together, then place in an empty vase in a low light spot.
Special Tip for drying hydrangeas:
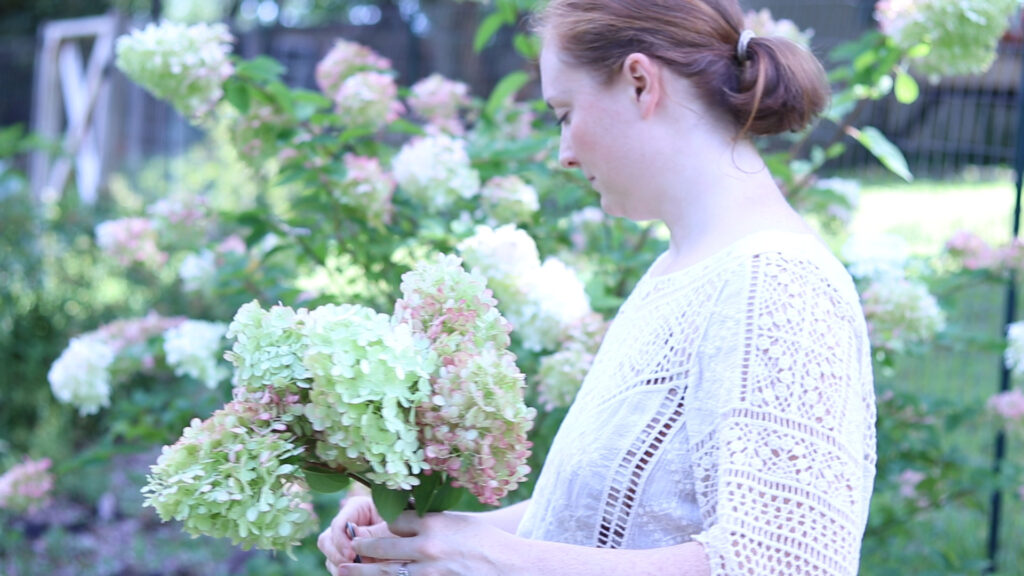
If you have ever tried to dry hydrangea and found that it wilted right away, this will help you! Hydrangeas for drying must be picked at the right time. You can’t dry a hydrangea that is not ready to be dried. Once the bloom has been on the bush for awhile and it starts the natural drying process itself. when you pick them they will continue to dry beautifully! If they are too new and aren’t ready, they will wilt.
What are Ways to Use Dried FLowers?
18 Ideas for how to use dried flowers:
- bouquets
- hanging bunches
- crafts such as pressed bookmarks, journaling or scrapbooking *See my Bible journaling with dried roses petals here!
- potporri mixes
- culinary uses if edible flowers
- sachets
- decorating a table
- framing as art
- bath and beauty products (if skin friendly)
- flowers petal confetti
- gift wrap embellishment
- snail mail/pen pal note add in
- garland or mobile
- craft time with kids
- homeschooling nature/botany lessons
- handmade wreath
- boutonniere or corsage
- dried flower crown for special occasions
Shopping Links
Don’t forget to check out the other bloggers in our Savoring the Summer Garden collab!
Laura from This House of Dreams – How to Dry Fresh Herbs
Anja from Our Gabled Home – How to Make a Rosehip Oxymel
Other Posts You Might Like
Creative Bible Journaling for Beginners – Days of Creation
4 Simple Ways to Make Your Home Cozy
Thank you for being here! See you next time!




(peaceful sigh) I loved the quote regarding Solomon to flowers.
I had only used books to flatten and dry flowers but dont like the little smudges they sometimes leave so im excited to try these other methods. THANKS AGAIN!
I love this post! So much detail and gorgeous pictures. I loved your YouTube video too!