I am full on into the project of starting seeds indoors myself, and thought it might be helpful for someone if I shared how I do it. I am in no way an expert, I am still learning. But I have successfully (and sometime not so successfully) been starting seeds indoors with grow lights for about 10 years and have learned some things along the way.
Find out what you need, how to get the seedlings enough light and much more!
*Post updated 2023
Why Start Seeds Instead of Buying Plants At A Nursery?
Why should you consider starting seeds indoors with grow lights instead of going to the nursery and buying them all ready to go? What is the benefit?
Well, first off, if you are a first or second year gardener and just getting your feet wet, buying your plants at a nursery is perfectly fine, and in fact, if it enables you to get plants growing in the ground and provides you with some veggies, some learning experience, etc… then that’s wonderful! There is nothing wrong with buying plants.
Some things are hard to germinate and propagate, and there are still several things that I enjoy purchasing in plant form in the spring. For example, herbs like thyme, rosemary, lavender, and many perennial flowers.
Watch Now! Starting Seeds Indoors With Grow Lights
{Disclosure: The links in this post may be affiliate links. Meaning items purchased through these links may earn a small commission for me at no extra cost to you, and they help support this blog. Thank you friends!}
The Benefits of Starting Seeds Inside
- There is no risk of introducing a plant into your garden that is already infected with a fungus or disease it contracted from the nursery.
- You can control the growing environment and can produce healthier plants and avoid root bound pots, and stressed plants.
- It is much cheaper! I can grow 10-20 tomato plants for the cost of buying 1 at a nursery.
- Variety and options. You have near limitless options for wonderful varieties of veggies and herbs when you purchase seeds. If I wanted to plant a sweet pepper, and I went to the nursery, I might find 2 or 3 options. But if I looked in my seed catalog, I would find many, many options.
- Find specific instructions on growth preferences, flavor, and specifications for each variety. I could choose just the right pepper that would do well in my climate, or with certain resistances to fungus and diseases that I’ve had trouble with in the past… You can choose exactly what you need instead of settling for whatever they decide to sell that year.
What equipment do I need to start seed indoors?
For optimal success, I would recommend:
- shelving or surface of their own
- trays and cups, or seed starting cell trays
- seed starting soil
- full spectrum florescent lights (also called plant/aquarium bulbs, or grow bulbs)
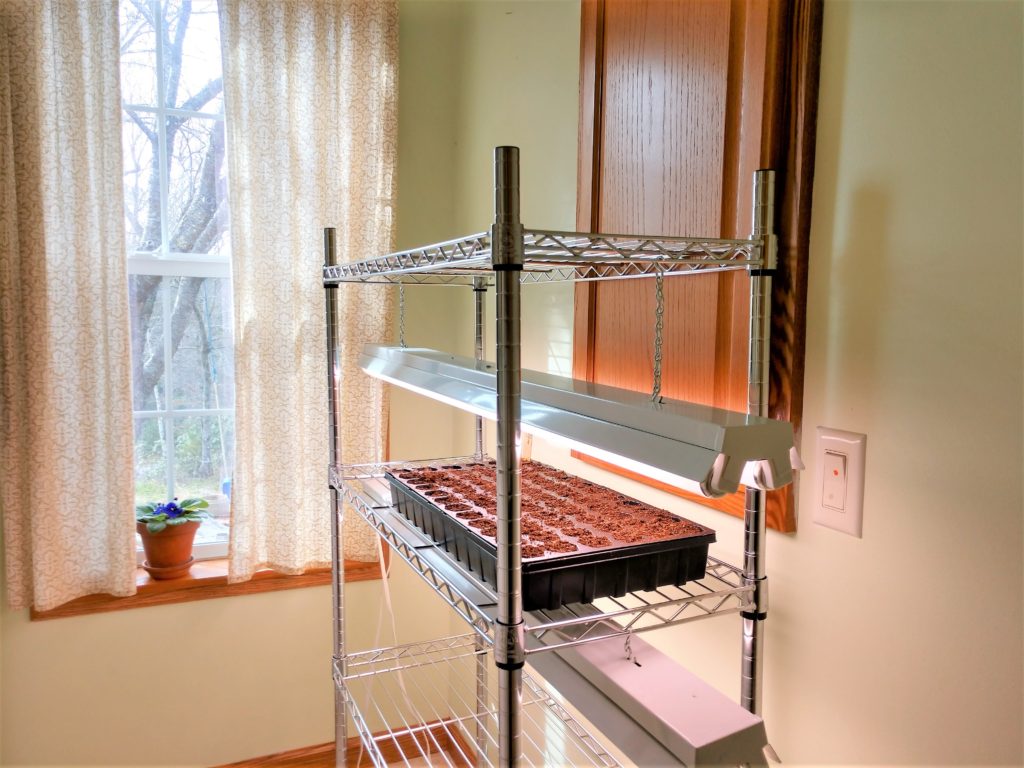
How do I set up my seed starting space?
I like the metal shelving because they have their own.safe space, and I can hang the lighting from each shelf, adjusting with small chains and s hooks as needed.
Lighting –
Make sure you have full spectrum lighting. Plants need the balanced warm and cool light. Regular fluorescent bulbs supposedly will not work well. These may be sold as plant and aquarium bulbs, or seed starting bulbs or grow bulbs. As long as it says they appropriate for plant growth.
Height –
It is important to be able to adjust the height of your lighting as your plants grow. The light needs to be as close to the plants as possible. Like 1 inch above or less.
Warmth –
It is helpful to start seeds in a warm environment. A cold basement might not be the best. Some folks like to use heated mats to set their pots on for germinating.
Pots –
I use something different to pot my seedlings just about every year it seems. I am still looking for the perfect set up! I have tried peat pots, plastic cell trays, folded newspaper pots and this year I’m using Styrofoam cups. The peat pots work fine, but are pricey. (Update – The plastic cell trays have a few drawbacks, but are what I’m going with this year, 2019.) The newspaper pots I did last year. I made a bunch of them, but was not happy with the results. They seemed to encourage mold growth. This year (2017) I am growing in small Styrofoam cups, which is working beautifully, but I regret it slightly as they are flimsy and I hate the thought of disposing of those cups instead of using something reusable or biodegradable. Any solid pot you use needs to have drainage holes pokes or drilled in the bottom.
Trays –
I use aluminum cooking trays from the dollar store to set my rows of cups in to keep them together and catch the extra water and dirt. If you go with cell trays as shown in above photo, they will come with trays.
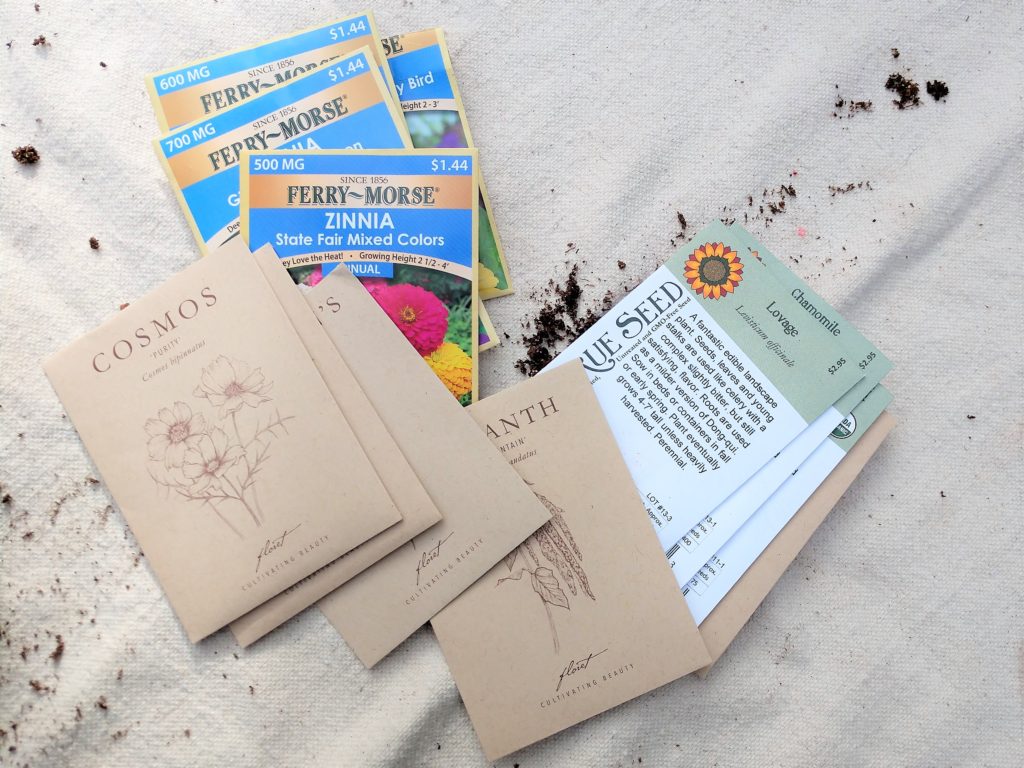
How Do I start Seeds Indoors with Grow Lights?
Once you have your lighting set up, and you’ve chosen your trays and pots, choose a seed starting soil. Don’t use regular potting soil or dirt out of your garden. It is better to have the very soft, sterile soil you can purchase. Some folks make their own mix. Here is one that I usually grab from Walmart. (In the store it is a smaller bag for only $5)
The mix can be very dry so I like to pre-moisten by dumping some into a bucket that has a little water in the bottom and mixing it up well.
- Fill your pots your with soil and plant your seeds to the depth on the seed packet. I usually plant 2 -3 seeds per pot in case one seed doesn’t sprout.
- Keep them moist and pretty soon… Voila! Sprouts appear!
- When they become about an inch tall, you can thin them if multiples came up. Do this carefully with a pair of scissors instead of pulling so as not to disturb the roots of the other sprout.
- Keep your lights directly above the plants. When the plants start touching the bulbs, you know it’s time to raise your lights a little bit.
- Keep seedlings moist, but not wet all the time. Over watering will encourage fungal growth.
- Before planting outside in your garden, you will want to “harden off” your seedlings. This is done by slowly acclimating them to the outdoor environment, so they won’t be shocked by changing temperatures, harsh sunlight, etc… I just set my seedling out on the porch during the day for a week or so.
- Baby them a little when you first plant them out. Protect them from harsh winds or rain, and make sure they have plenty of water until they become established.
Pin it For Later:
(Hover over or tap the picture below and click the little red button in the corner. Thank you for haring my stuff!)
Go Shopping
Grow Lights (I had a hard time finding what I have, look at your local hardware and home improvement store! But this is similar.)

Seed Starting Tray I have updated to add that I like these trays better! They make it really easy to get the plant out without hurting the roots.

Watering Can (This one would be great for careful watering!)

You Might Also Like:
4 Ways to Make Spring Come Sooner
4 Simple Ways to Make Your Home Cozier
Thanks for stopping by today! Let me know in the comments if you have ever started seeds inside and what your tricks are!
Always Dig the Good Life!
Love,


This was really helpful! I had no idea about needing special lighting!
Good, I’m glad you found it helpful!
Seems like I see this on a regular basis. Like maybe it runs in the family?? Hug the HUbby and watch out for the Noodle Head as she streaks by. Love Yall!